


 App screenshot · Click to enlarge
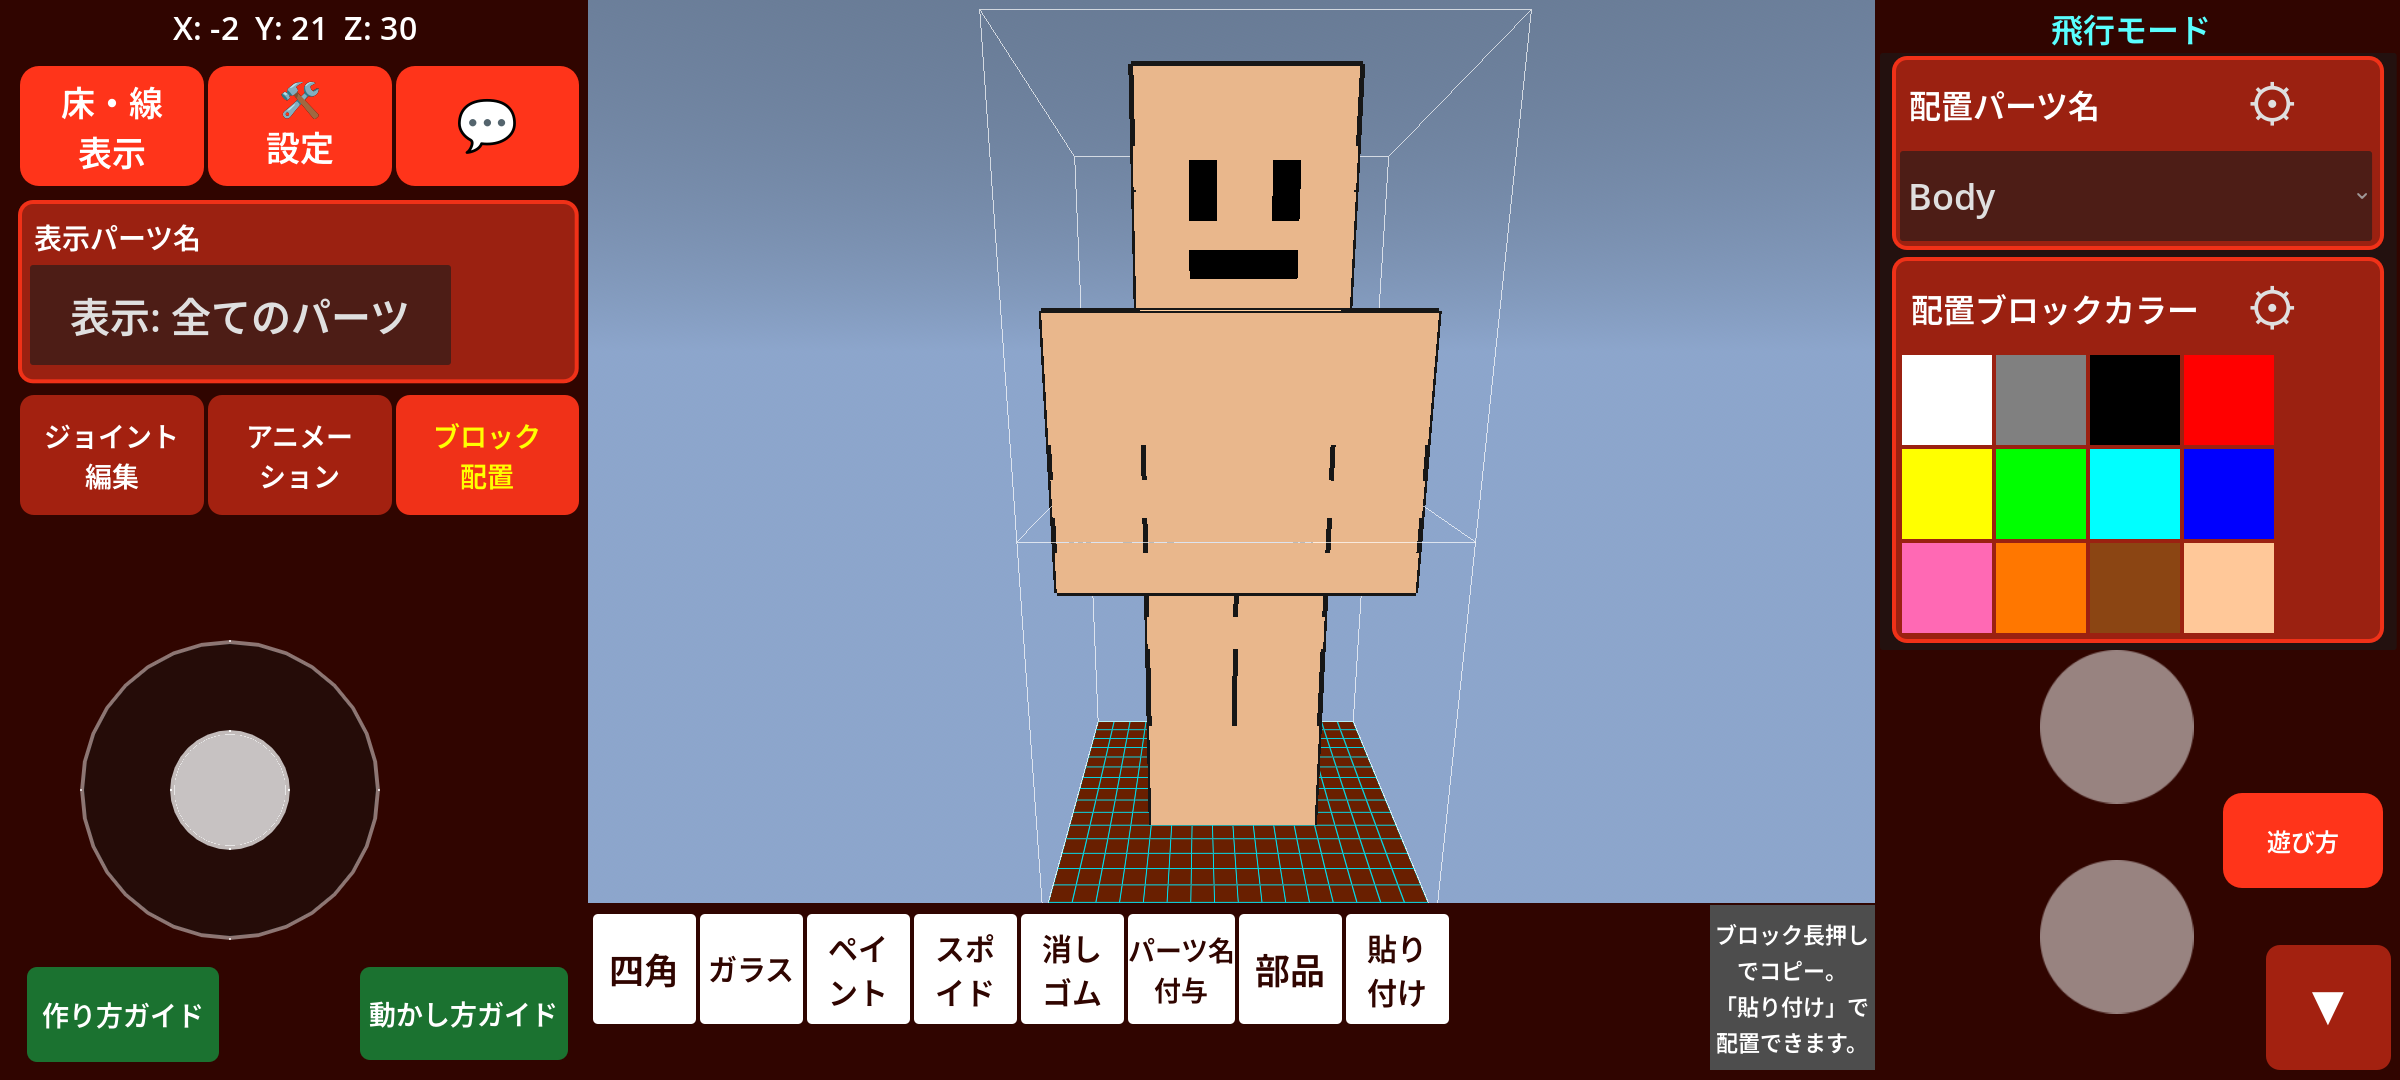
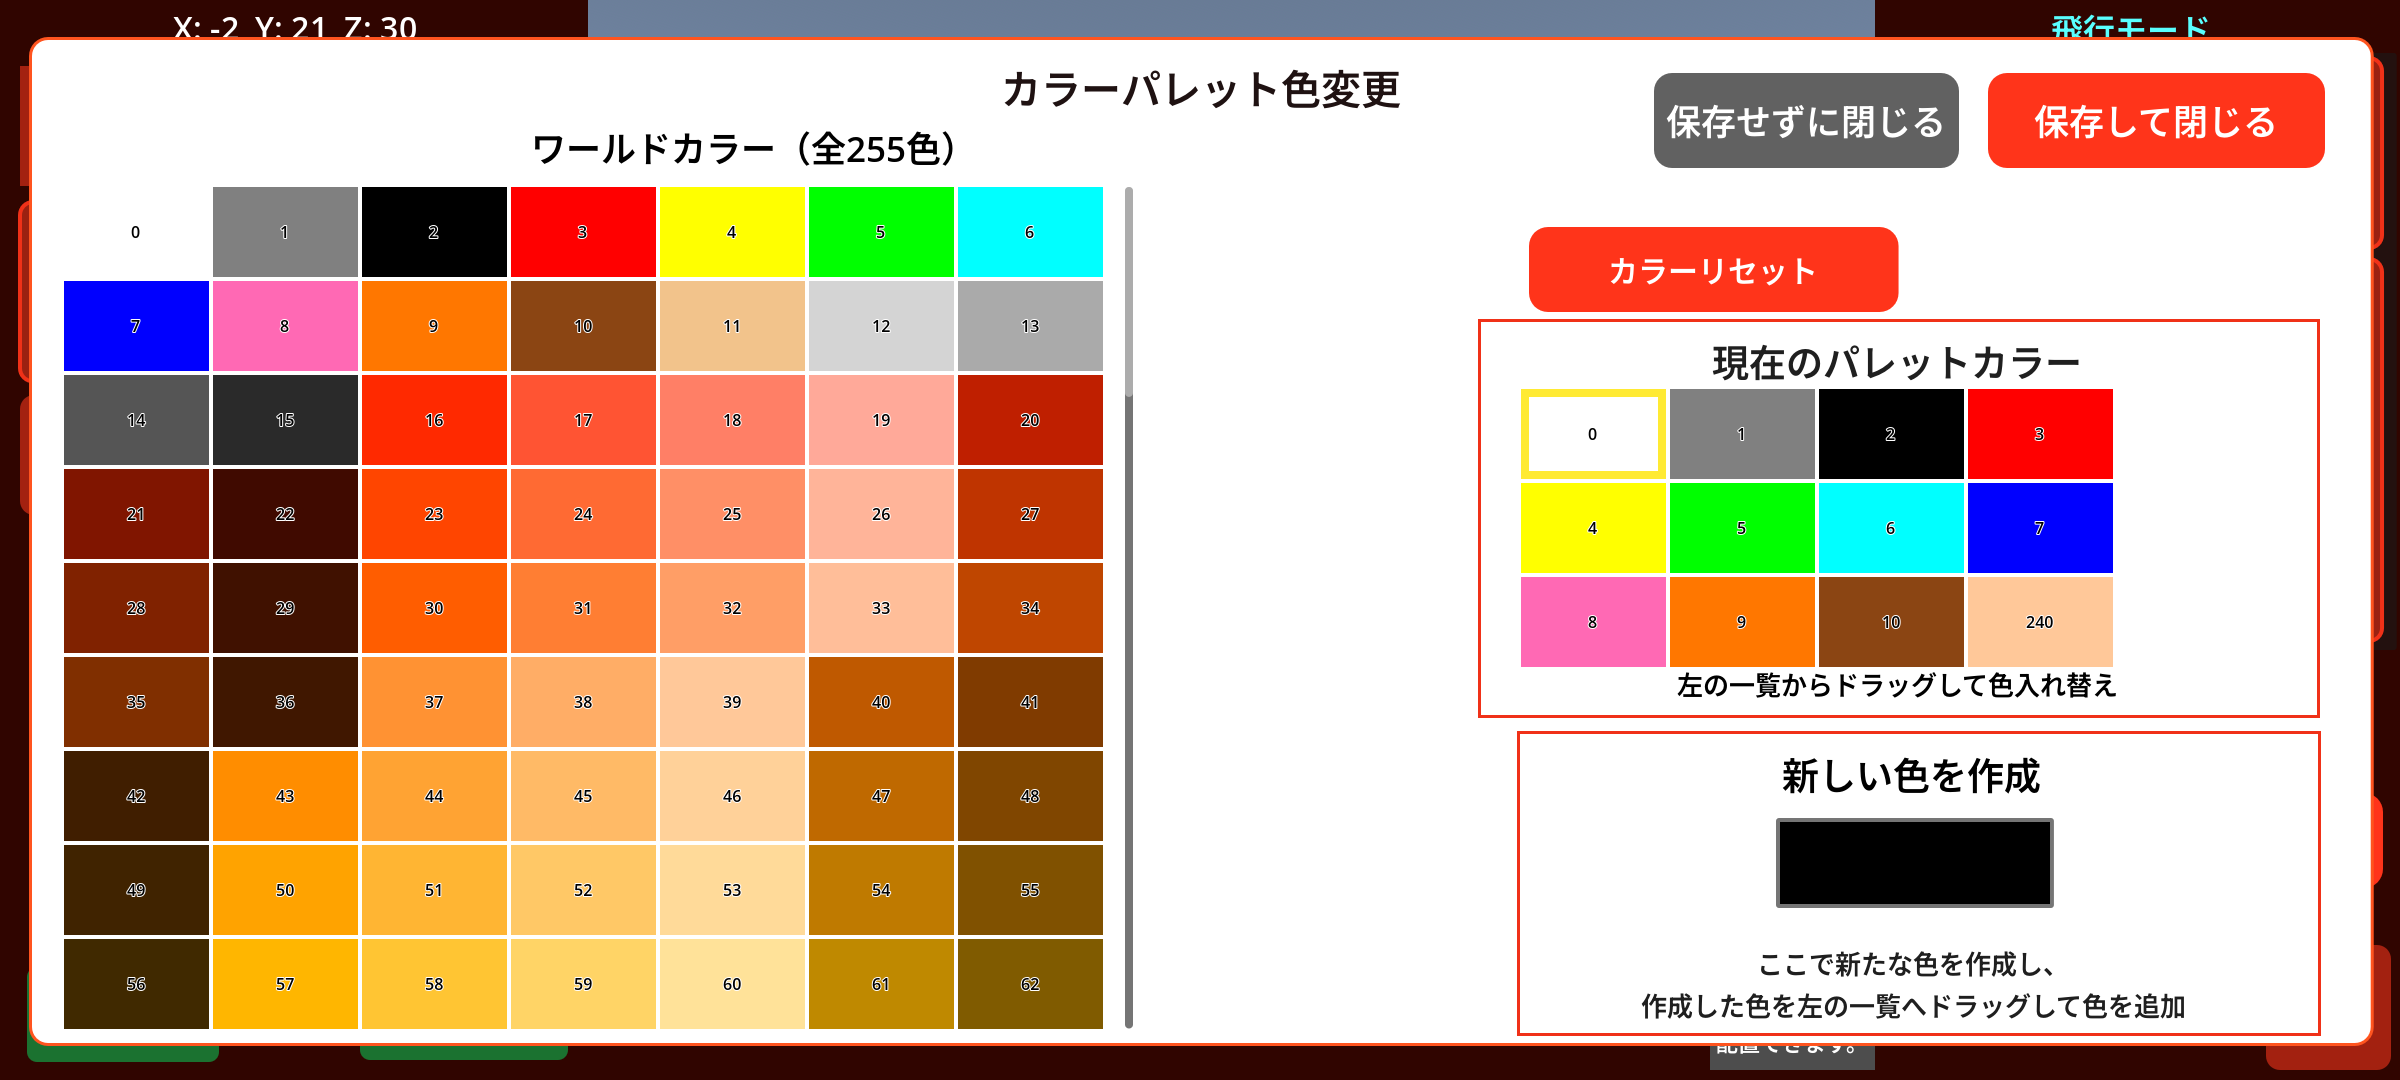
01 / BLOCK & COLOR
Make every shape and color your own.
Place blocks as you would in Minecraft to create characters, vehicles and more. Freely choose block colors using the color palette.
COCO CHARA OFFICIAL WEBSITE
Drag to rotate
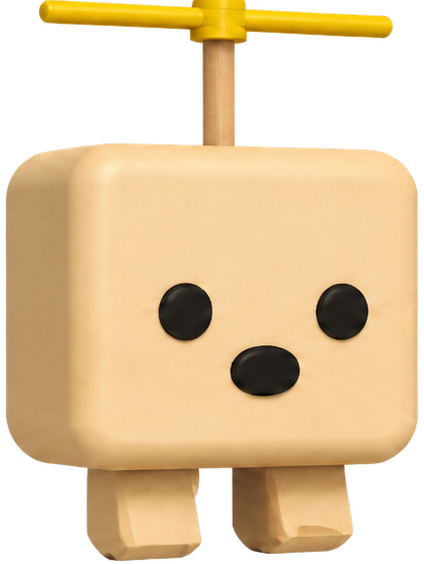
Share ideas with friends. Stack blocks and try out shapes and colors. Talk with AI to bring an idea to life. COCO CHARA is a 3D creation app for enjoying the whole process of making.
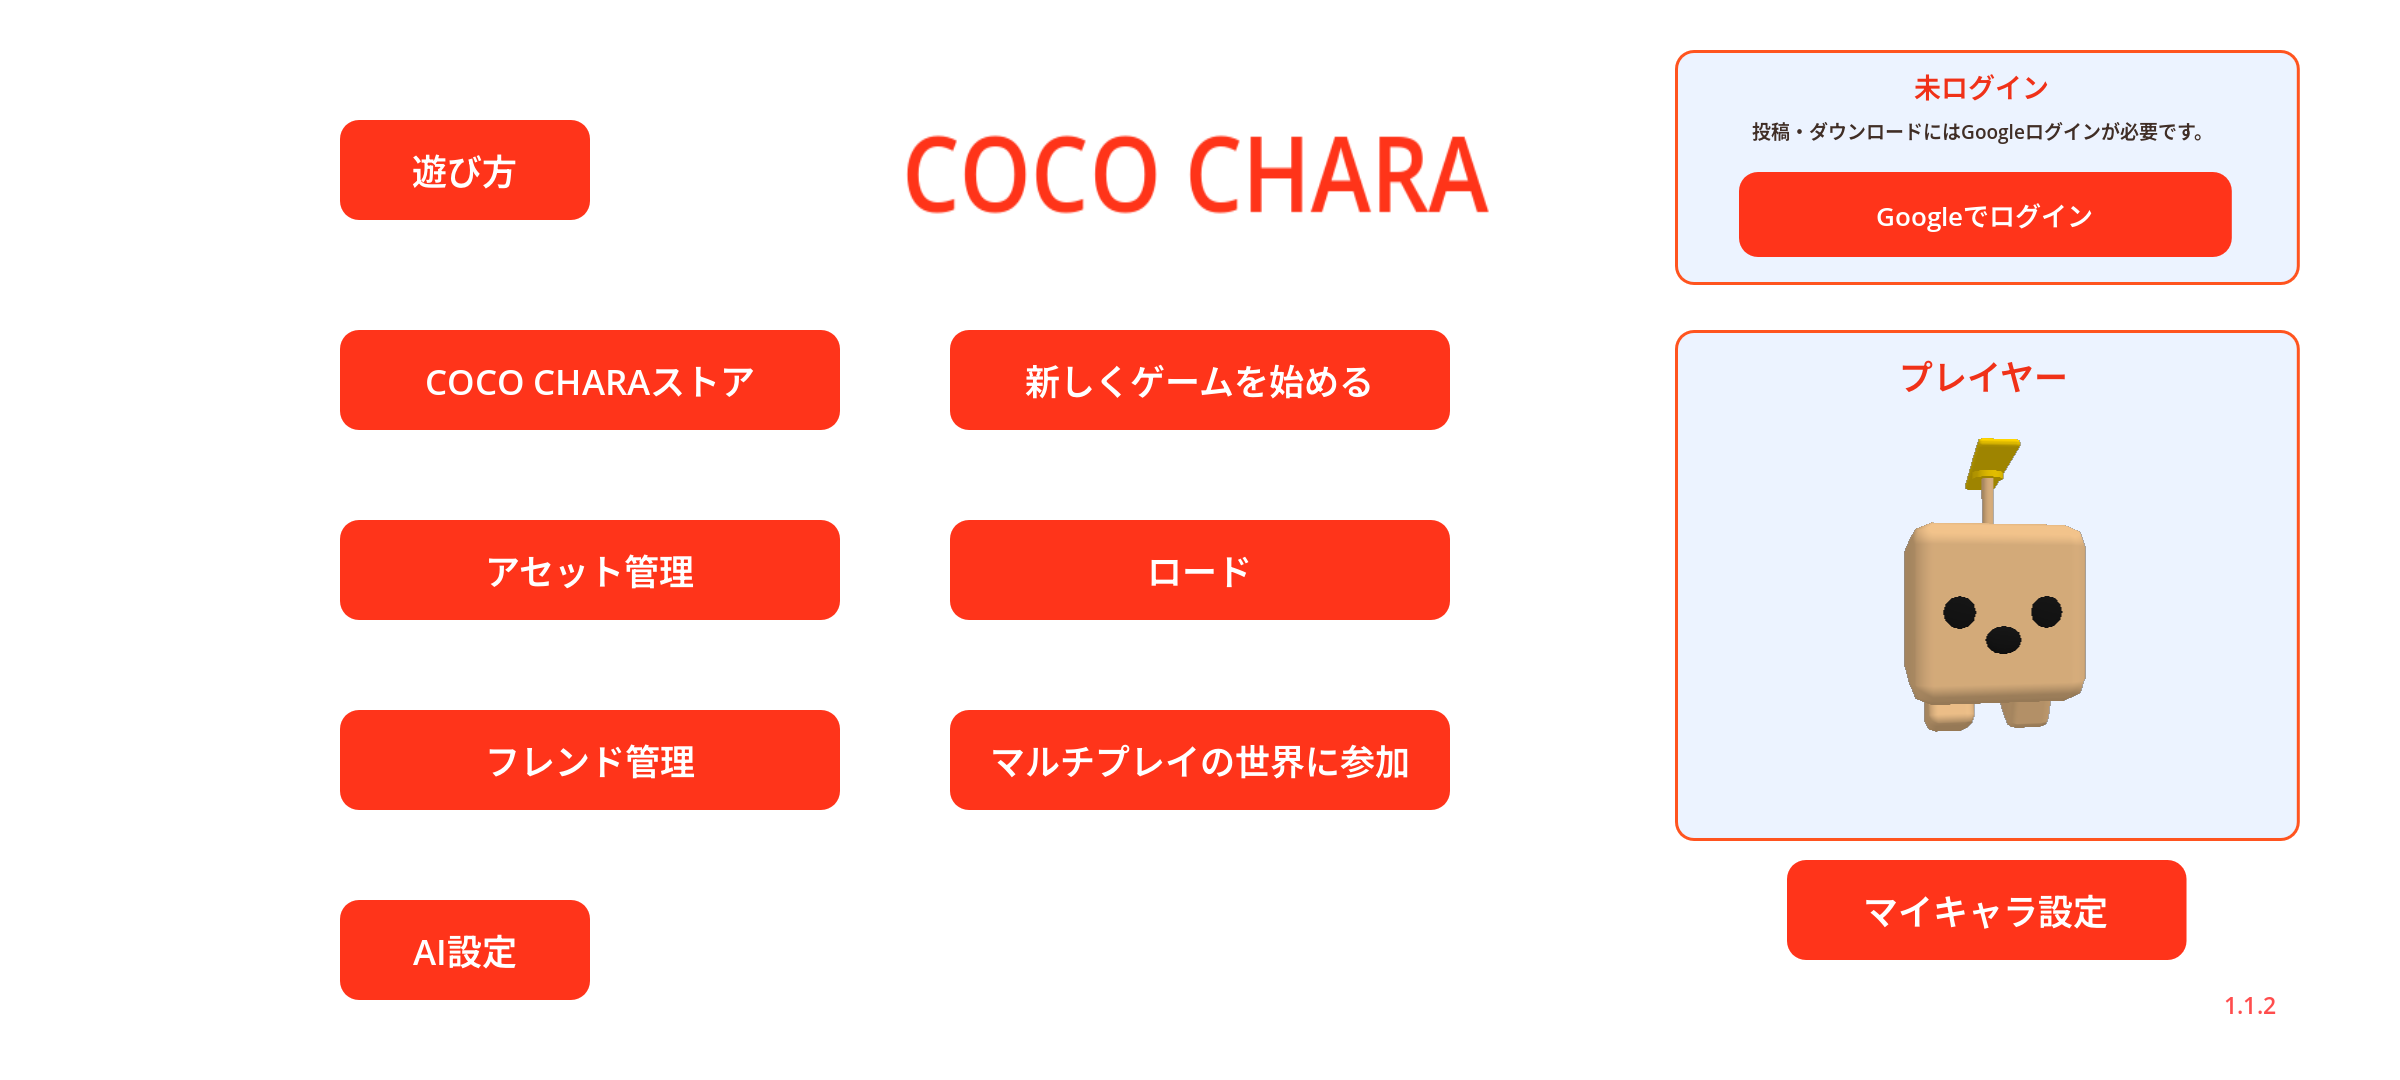 COCO CHARA main menu · Click to enlarge
Meet in the same world and share ideas: what should we build here? Enjoy creating together in multiplayer.
Explore multiplayer →BLOCK BUILDINGPlace, erase and paint with Minecraft-style controls. Try new shapes, add movement and enjoy experimenting as you build in 3D.
Explore block building →CREATE WITH AIDescribe an idea to your usual chat AI, then paste its CocoScript to see it in 3D. Enjoy refining your creation through conversation.
Explore AI creation →WORDS → COCOSCRIPT → 3D
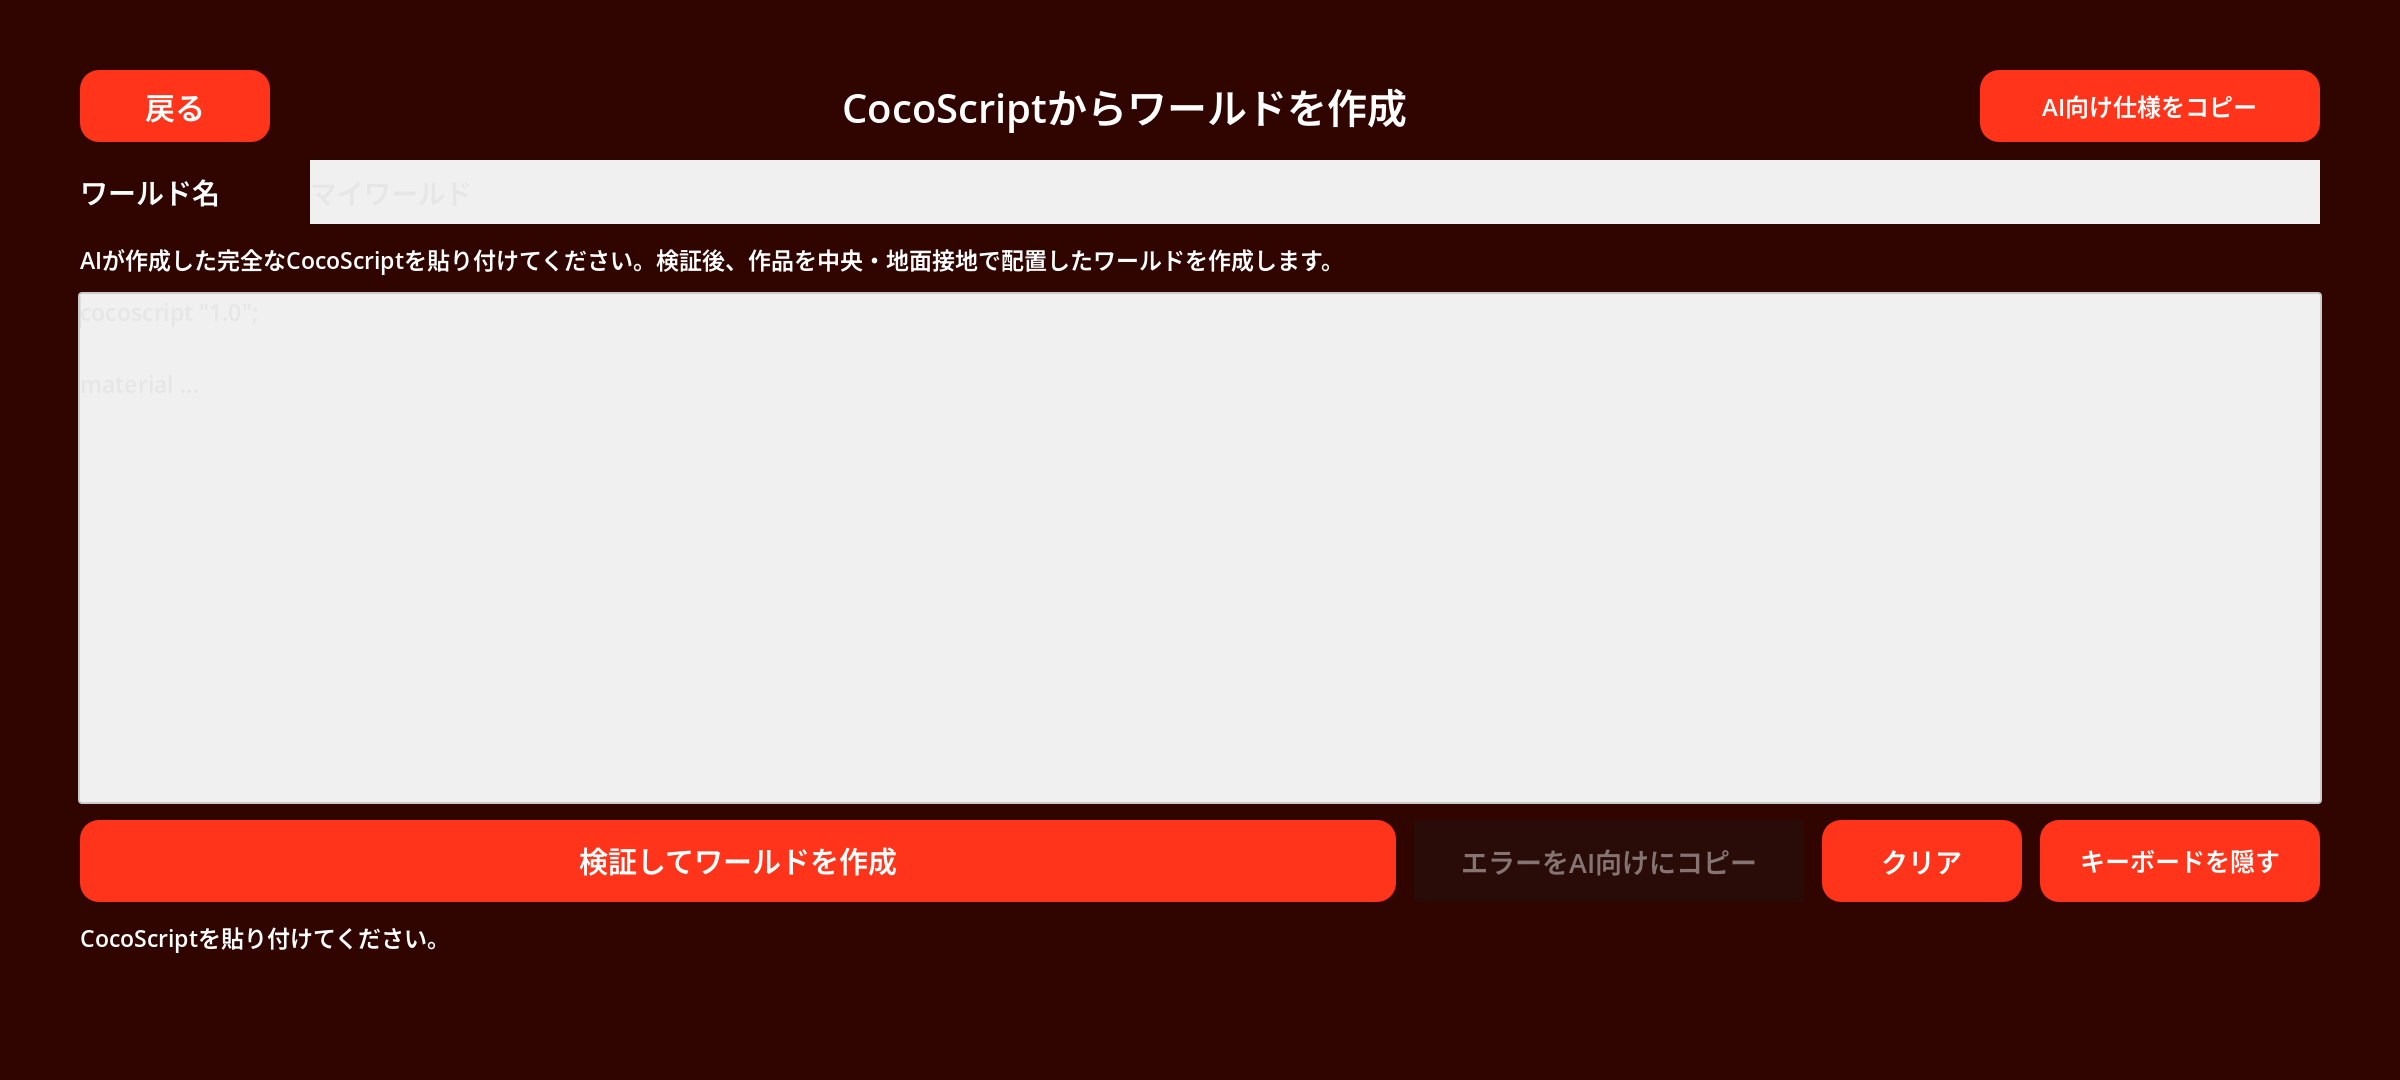
Copy the specification for AI from the app, share it with your assistant, then ask for something like a light-blue robot.
AI describes the shape and colors in code. Copy the complete CocoScript it returns.
Paste it into the app and select Validate and Create World. Explore your creation from every angle.
INSIDE THE APP
Place blocks to create shapes, turn them into parts, and add movement. Explore hands-on character creation, animation, exports and sharing.
App screenshot · Click to enlarge01 / BLOCK & COLOR
Place blocks as you would in Minecraft to create characters, vehicles and more. Freely choose block colors using the color palette.
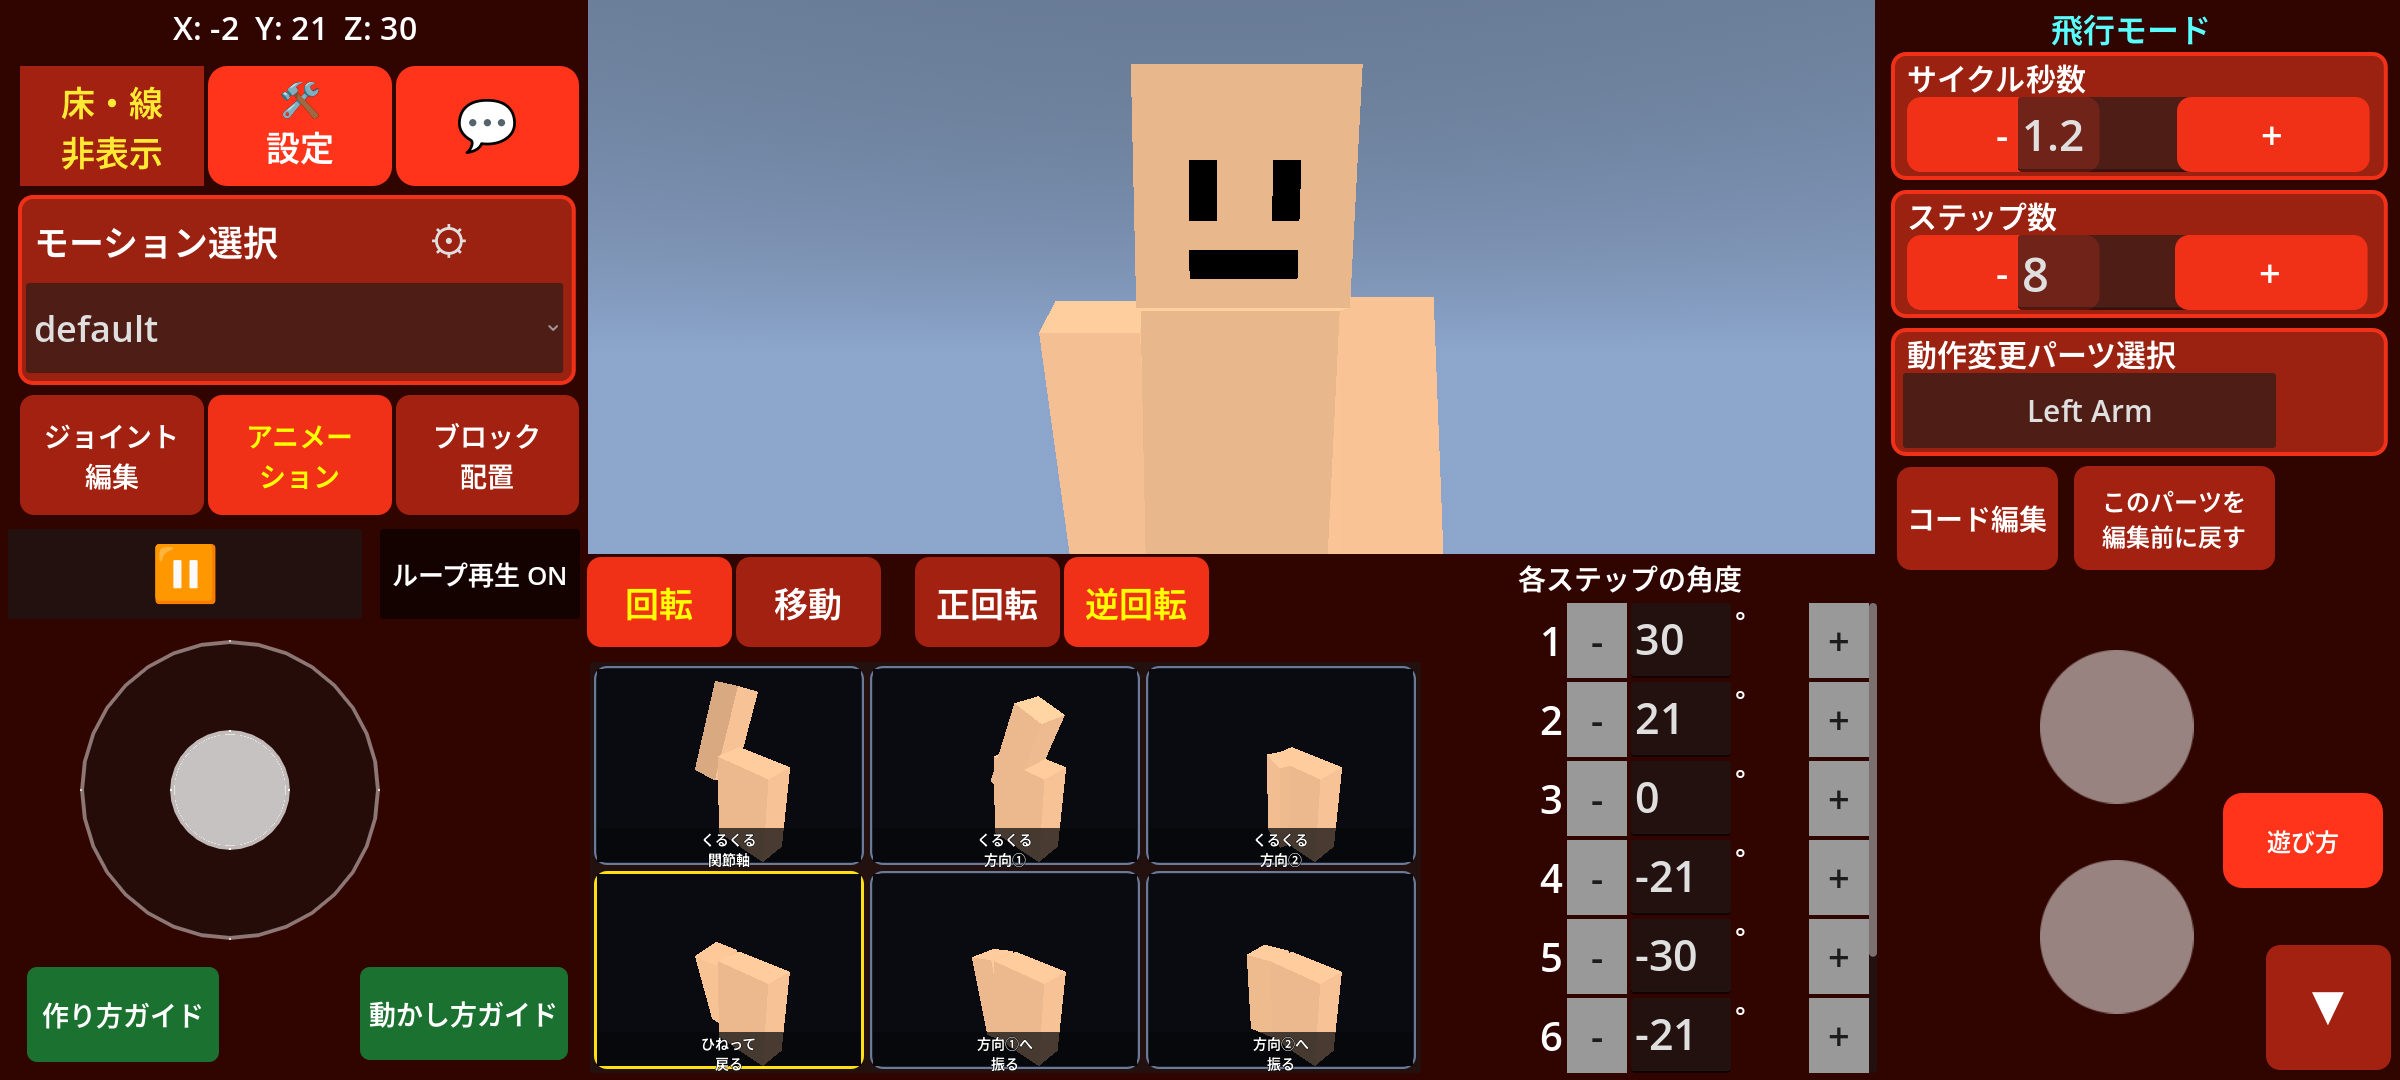 App screenshot · Click to enlarge
02 / ANIMATION
Create parts from the blocks you place, then add rotation and movement to those parts and play them back as animations.
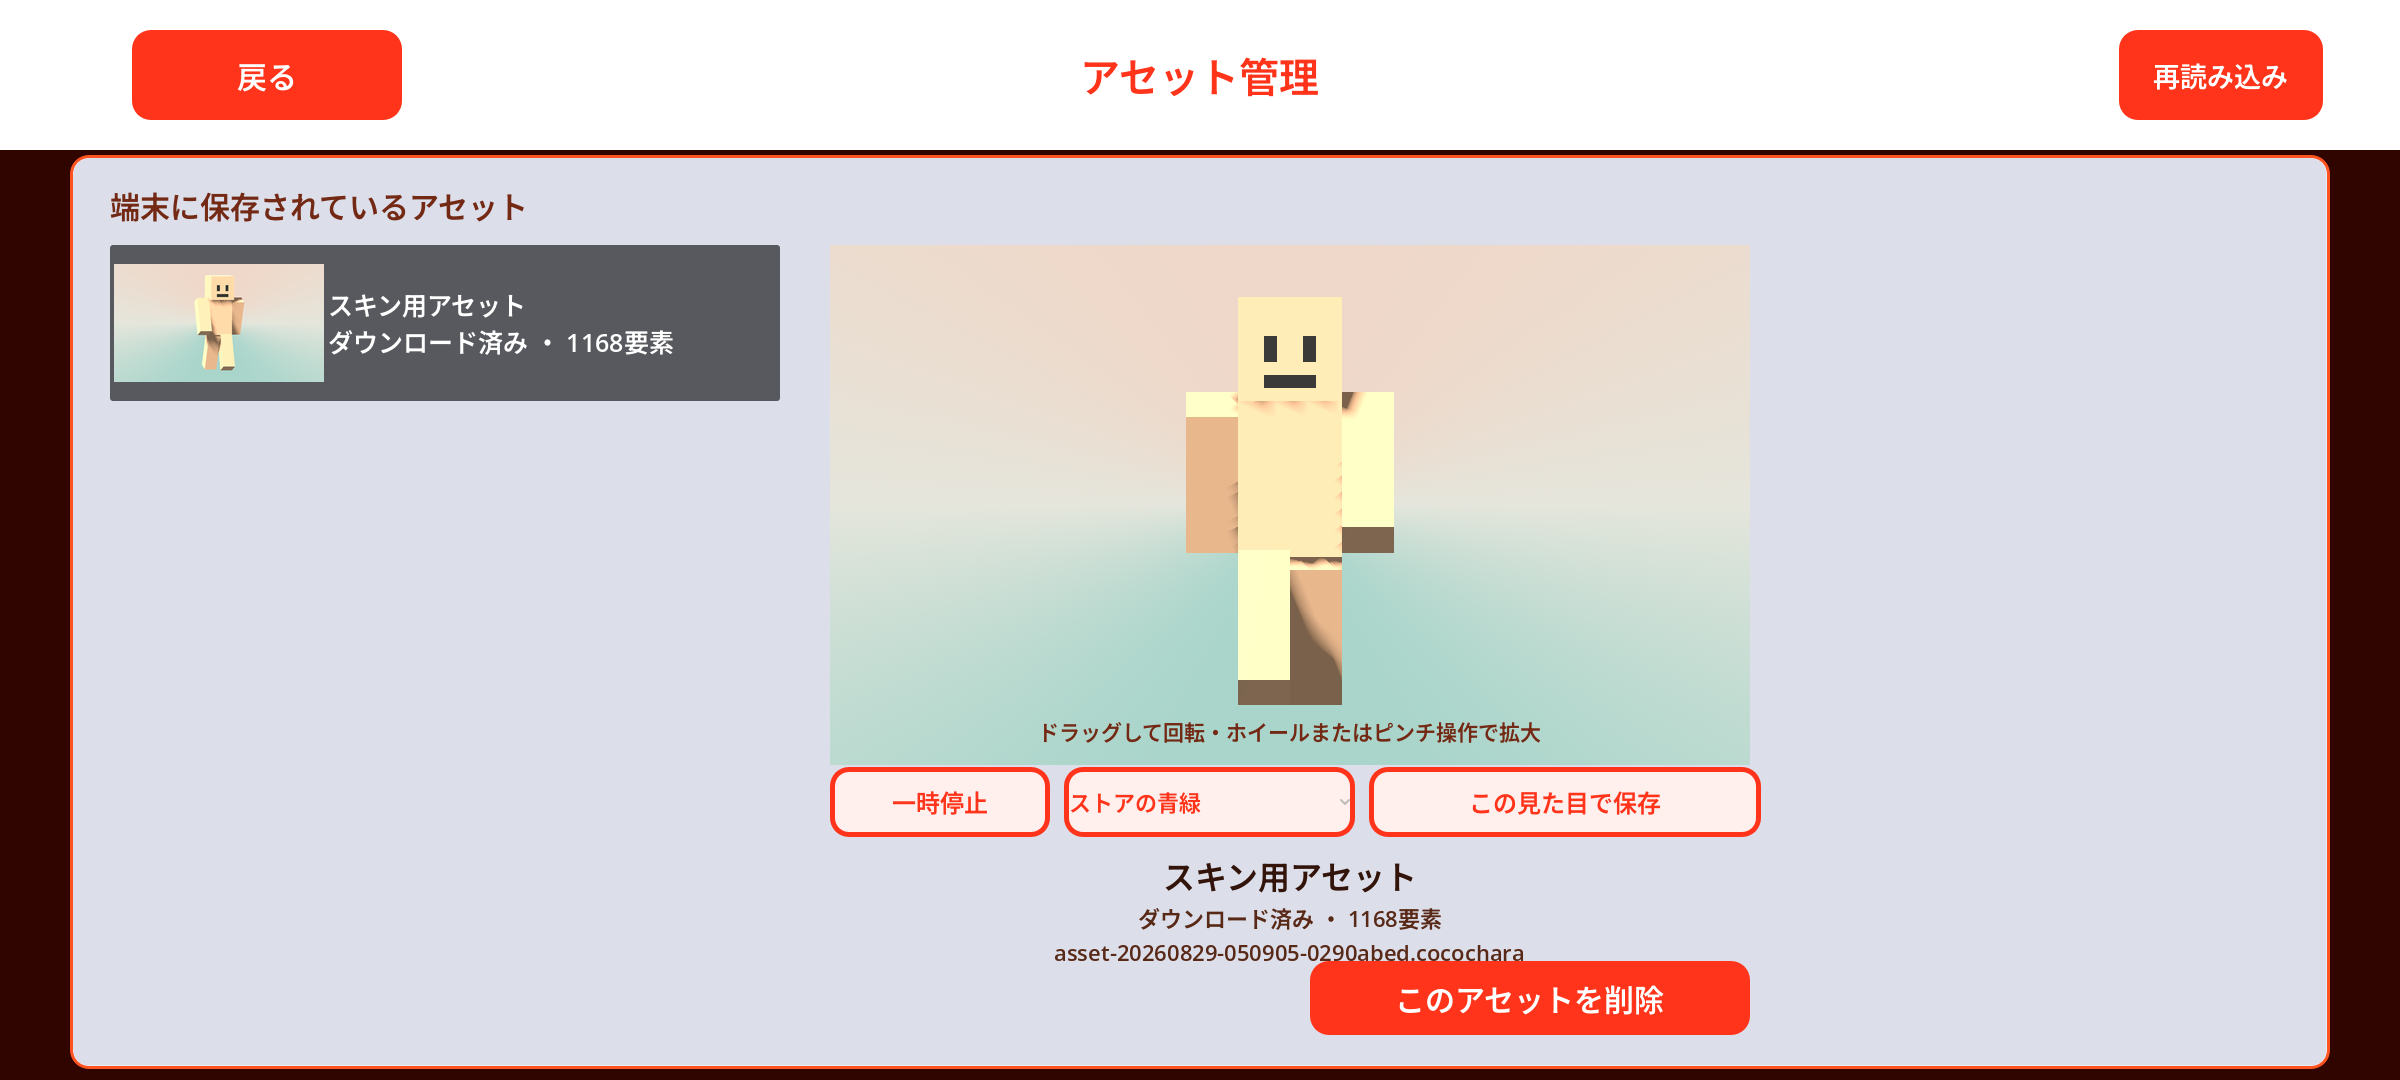 App screenshot · Click to enlarge
03 / ASSETS
Set a creation as your own character. Save and manage your work as assets, inspect them in the preview and reuse them in other worlds.
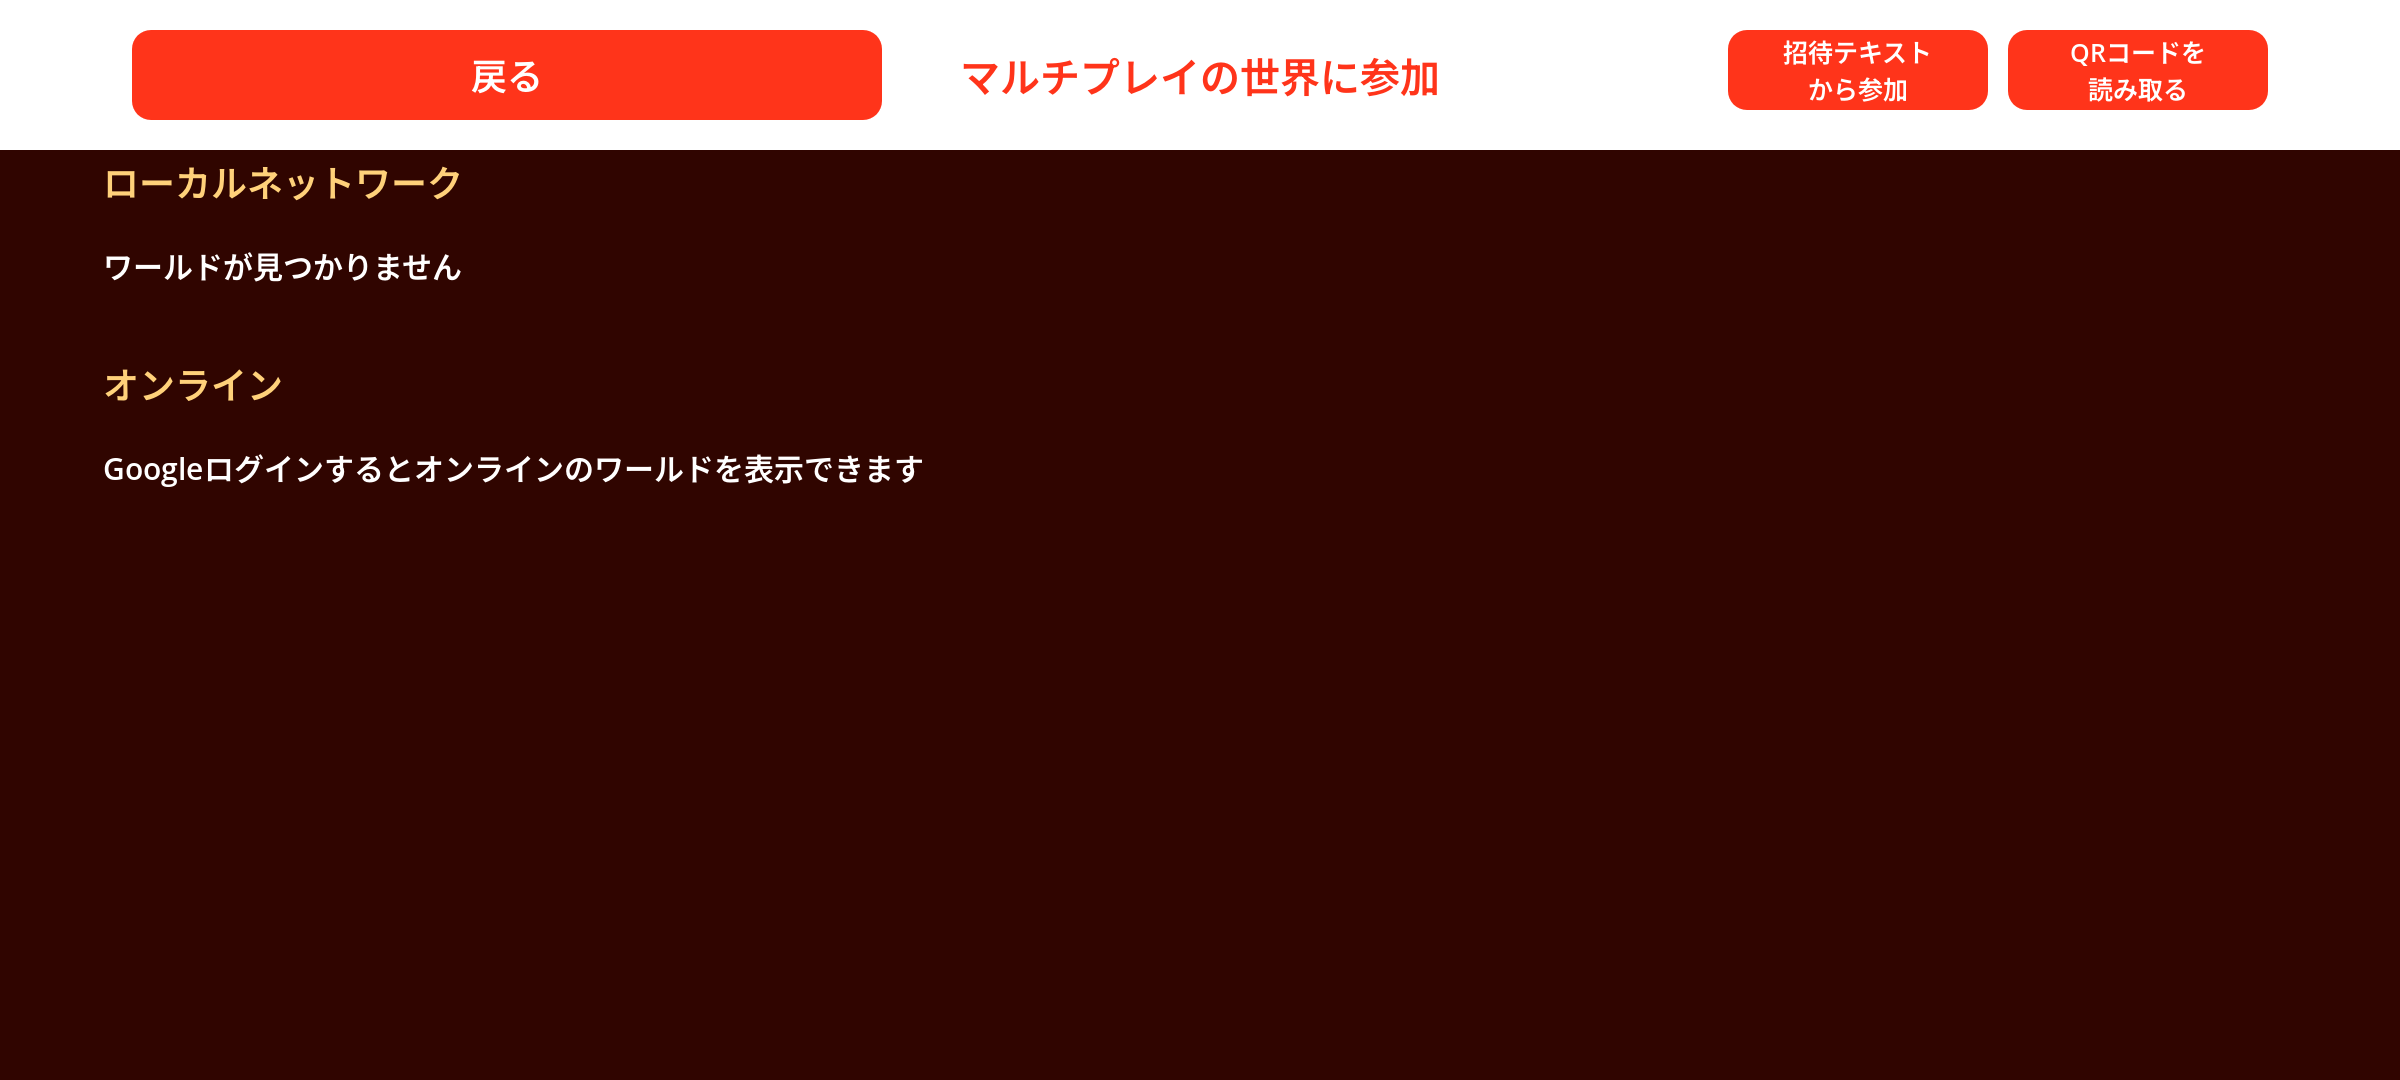 App screenshot · Click to enlarge
04 / MULTIPLAYER
Place blocks in the same world and combine your ideas. Build and play together over a local network or online. Join with invitation text or a QR code; online features use Google sign-in.
 App screenshot · Click to enlarge
05 / EXPORT
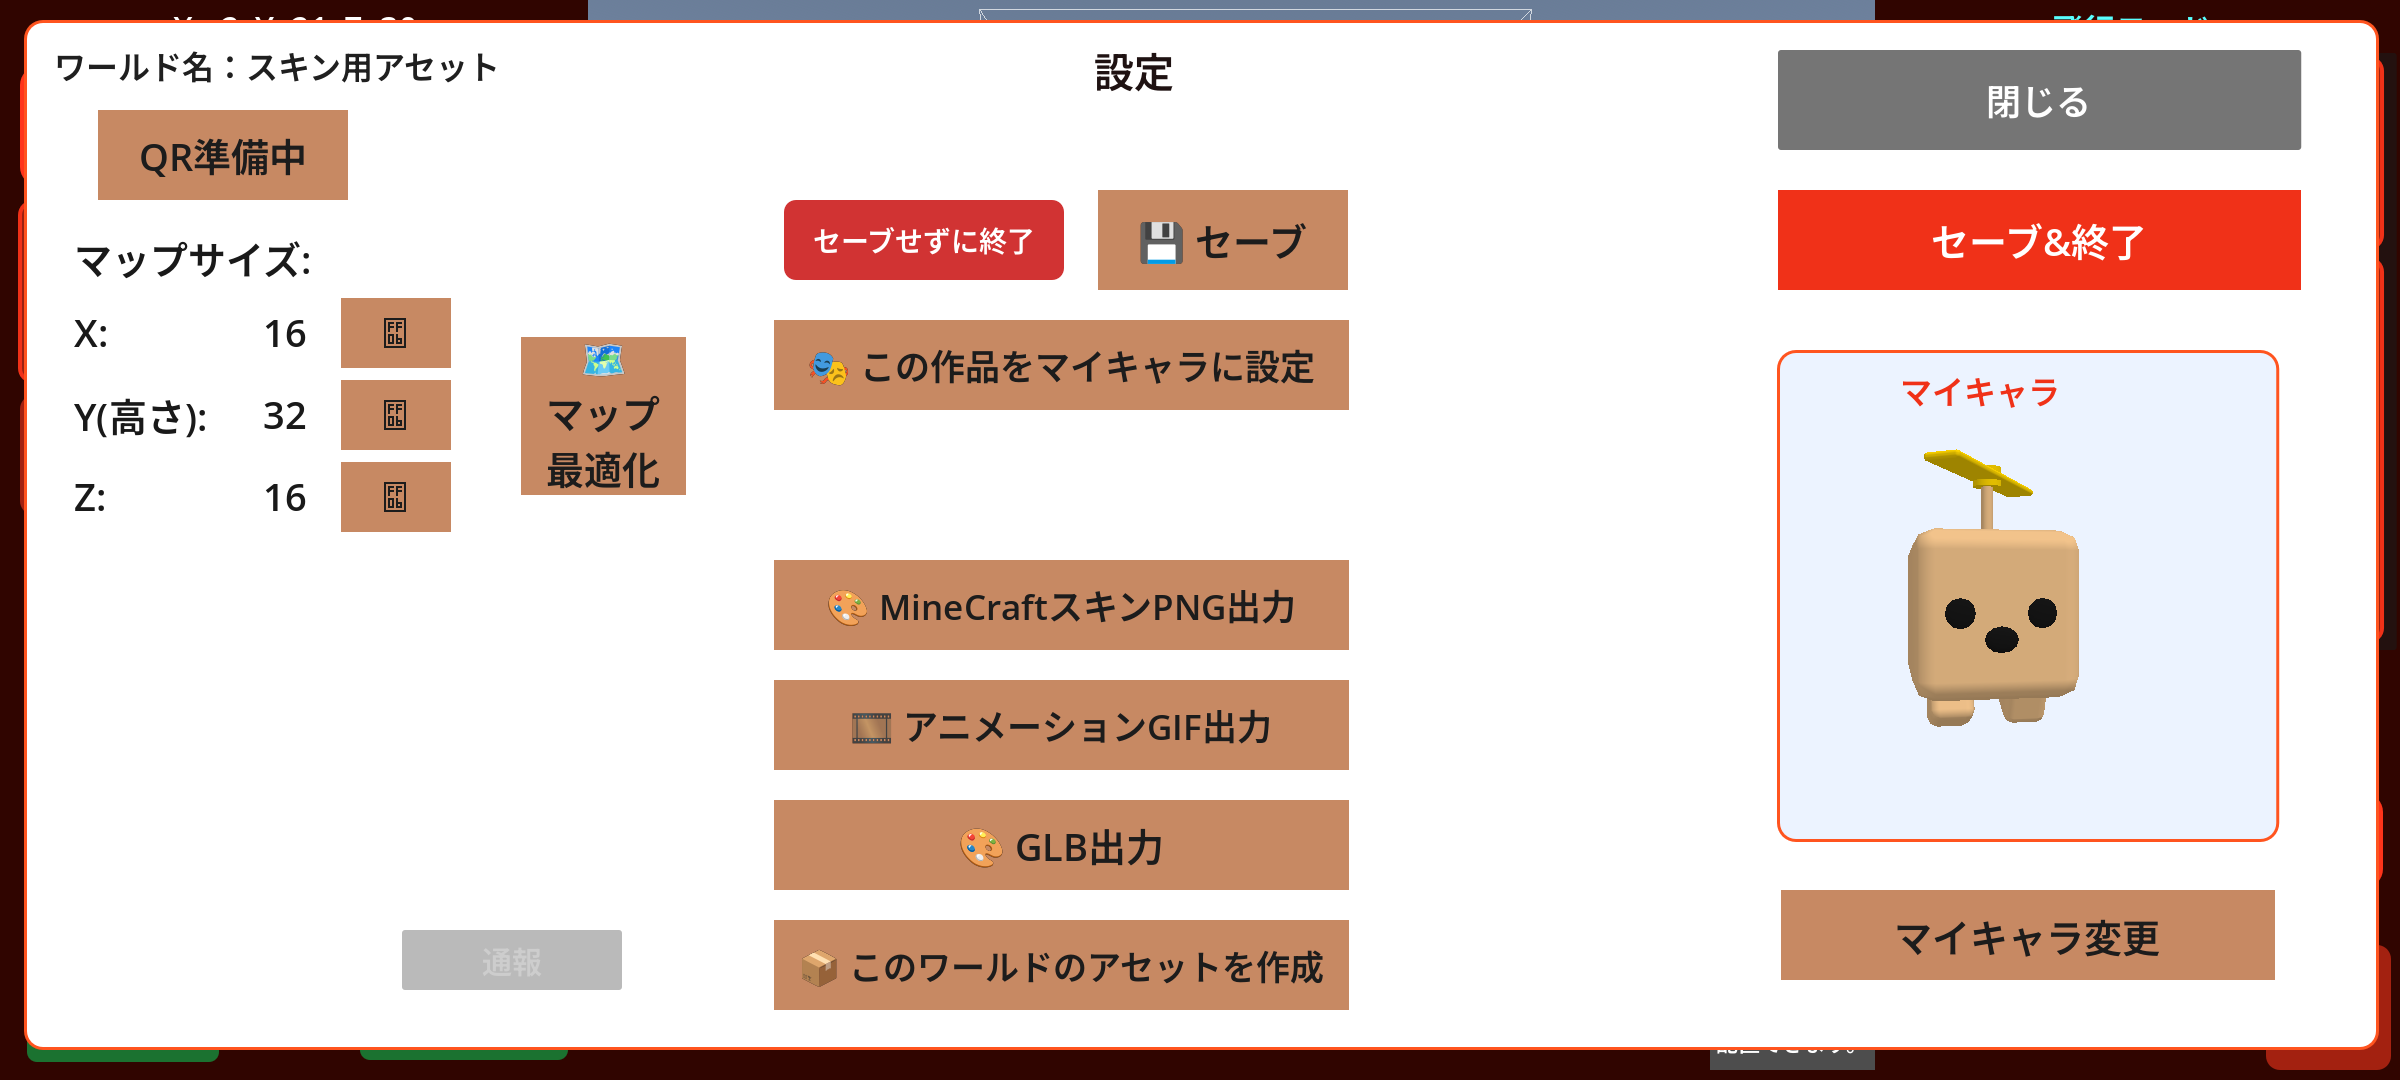
Export animation as a GIF, a skin as a PNG, or your creation as a GLB 3D model. Use what you make beyond the app.
 App screenshot · Click to enlarge
06 / IMPORT
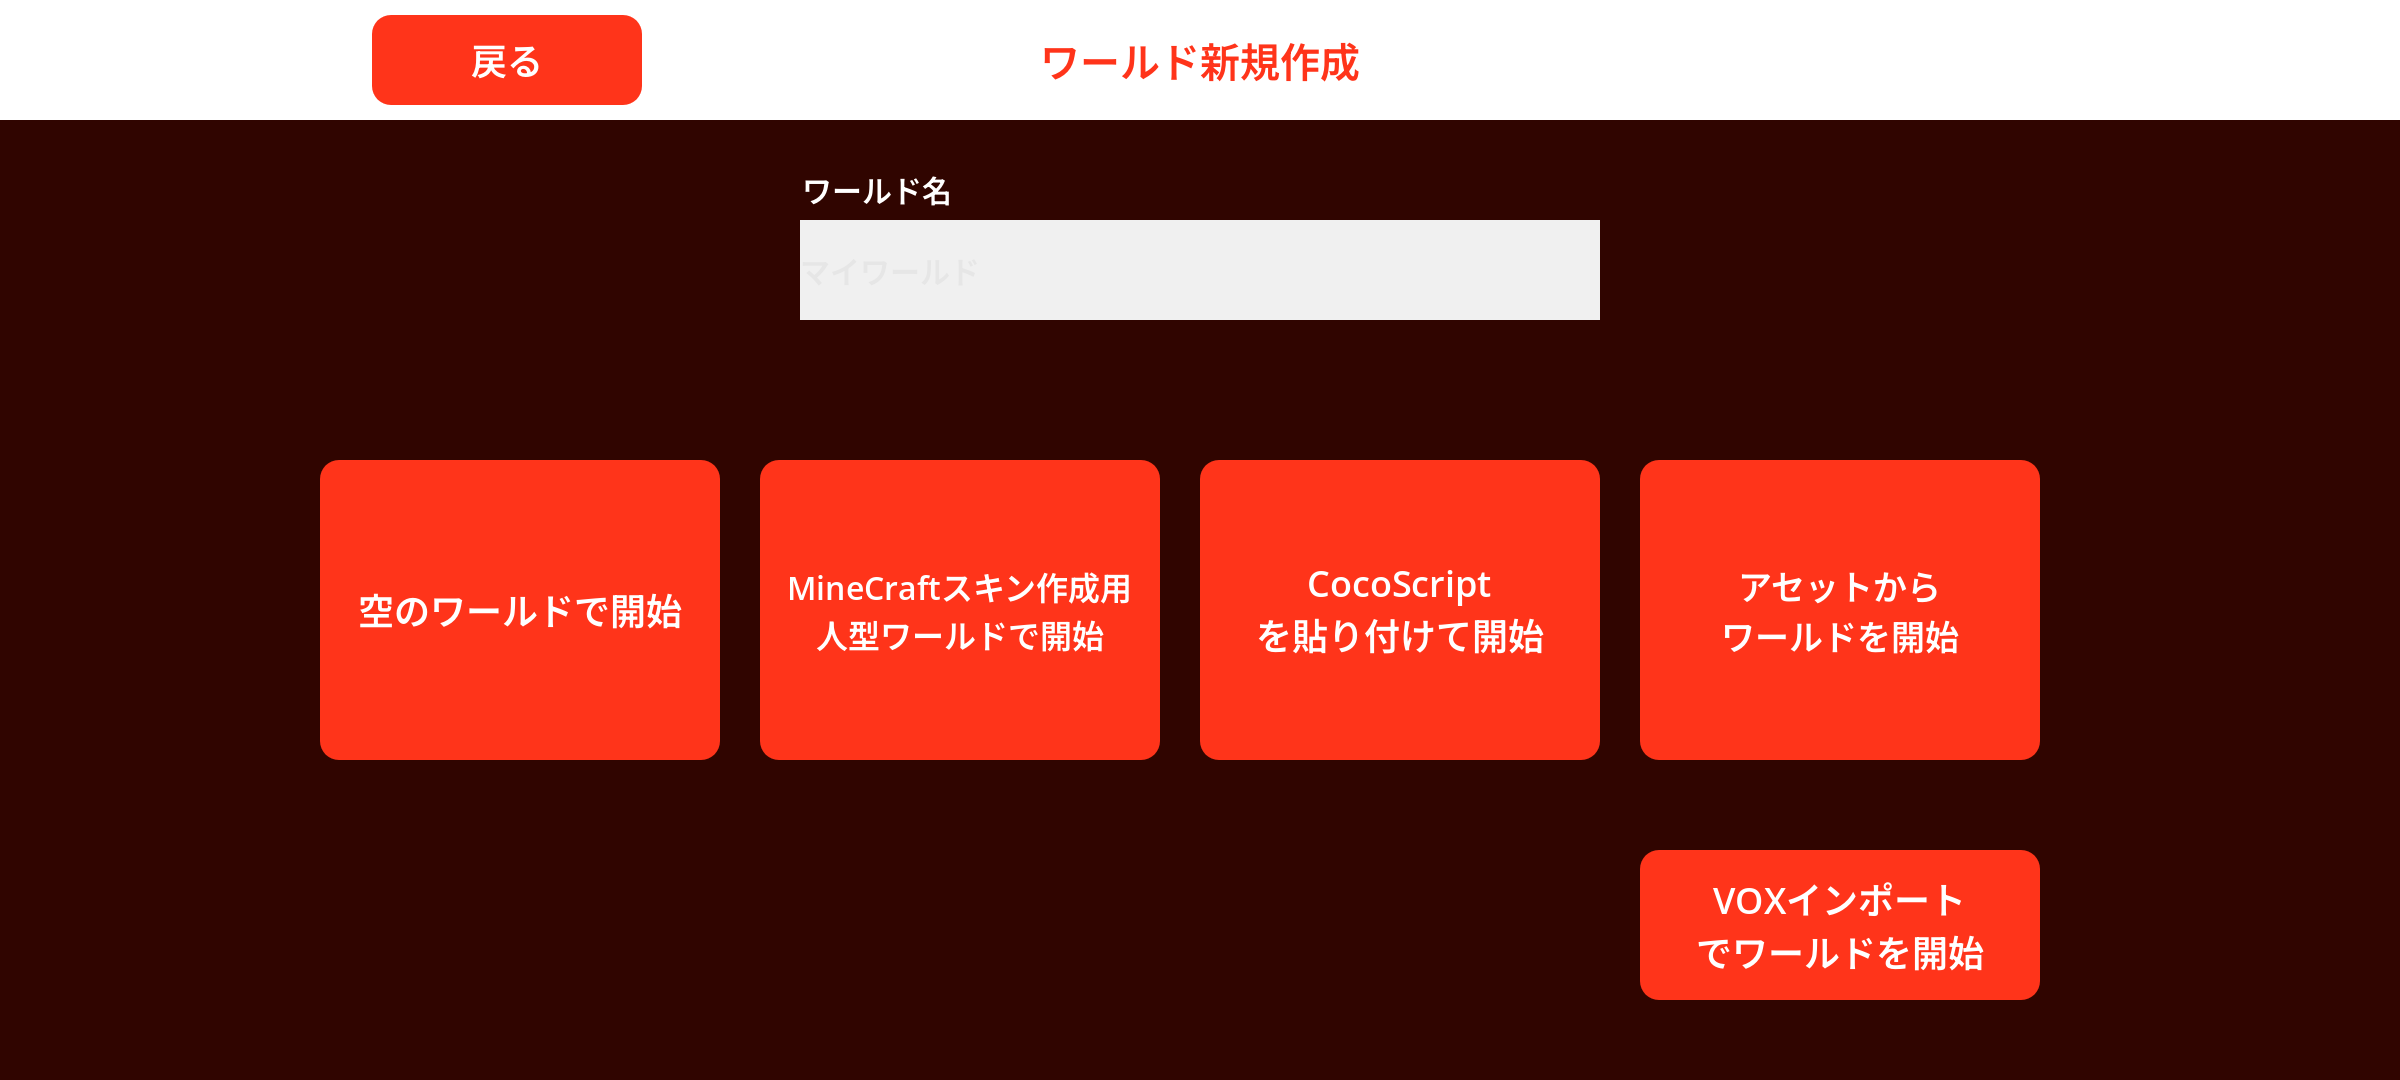
Begin with an empty world, an existing asset or a VOX import. You can also start with a character world for skins or paste CocoScript.
COCO CHARA STORE
Find creations in the in-app store and use them in your projects. Browse published works and explore 3D previews in the web store.
Explore the Store →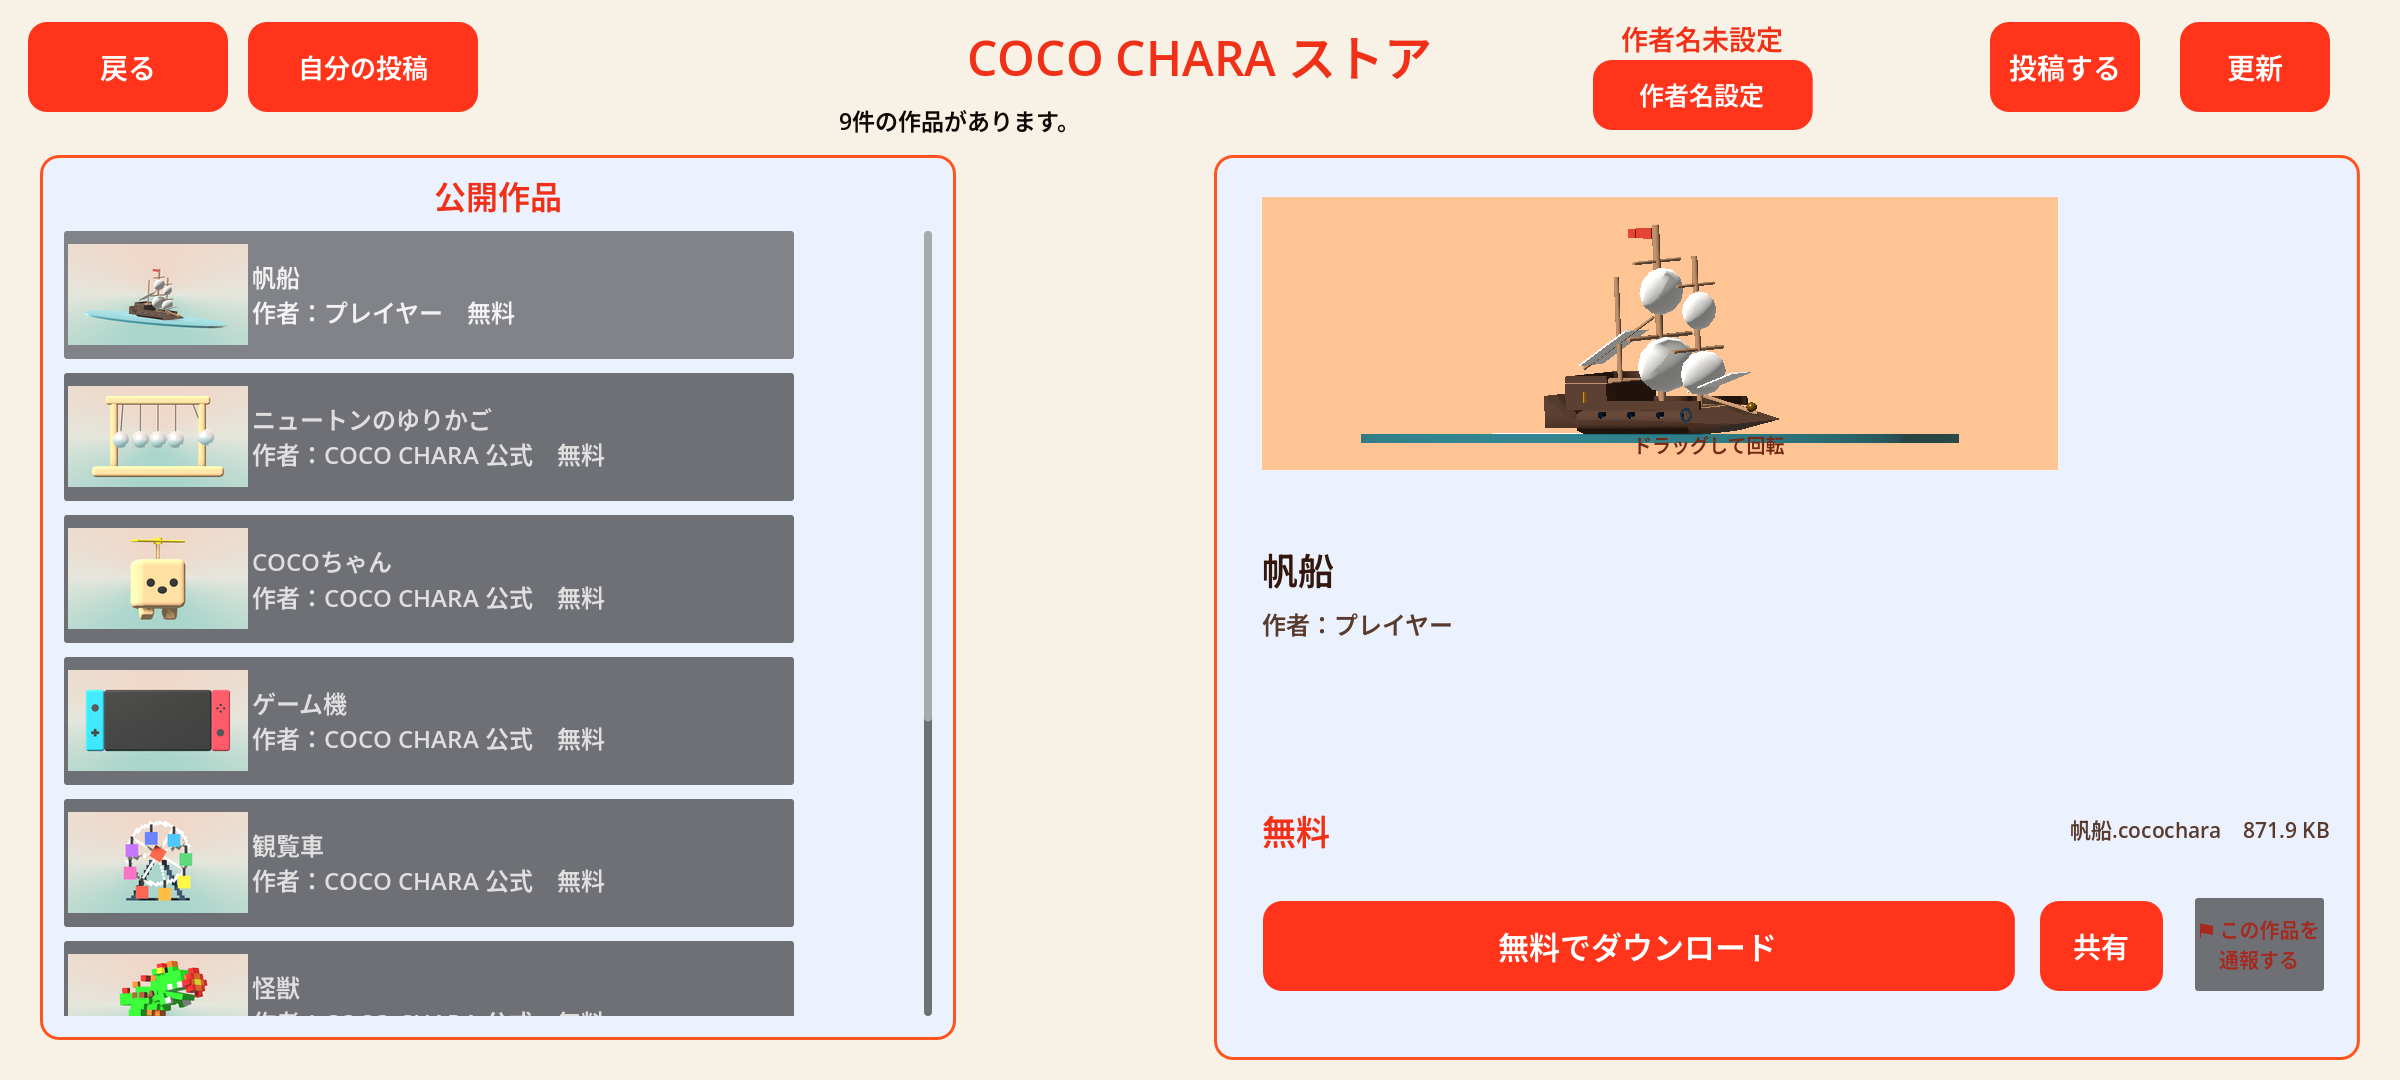 App screenshot · Click to enlarge
CREATE WITH AI
Creating with AI lets you make an even wider variety of 3D works. Round the corners, make parts thinner, or even add tiny eyes.
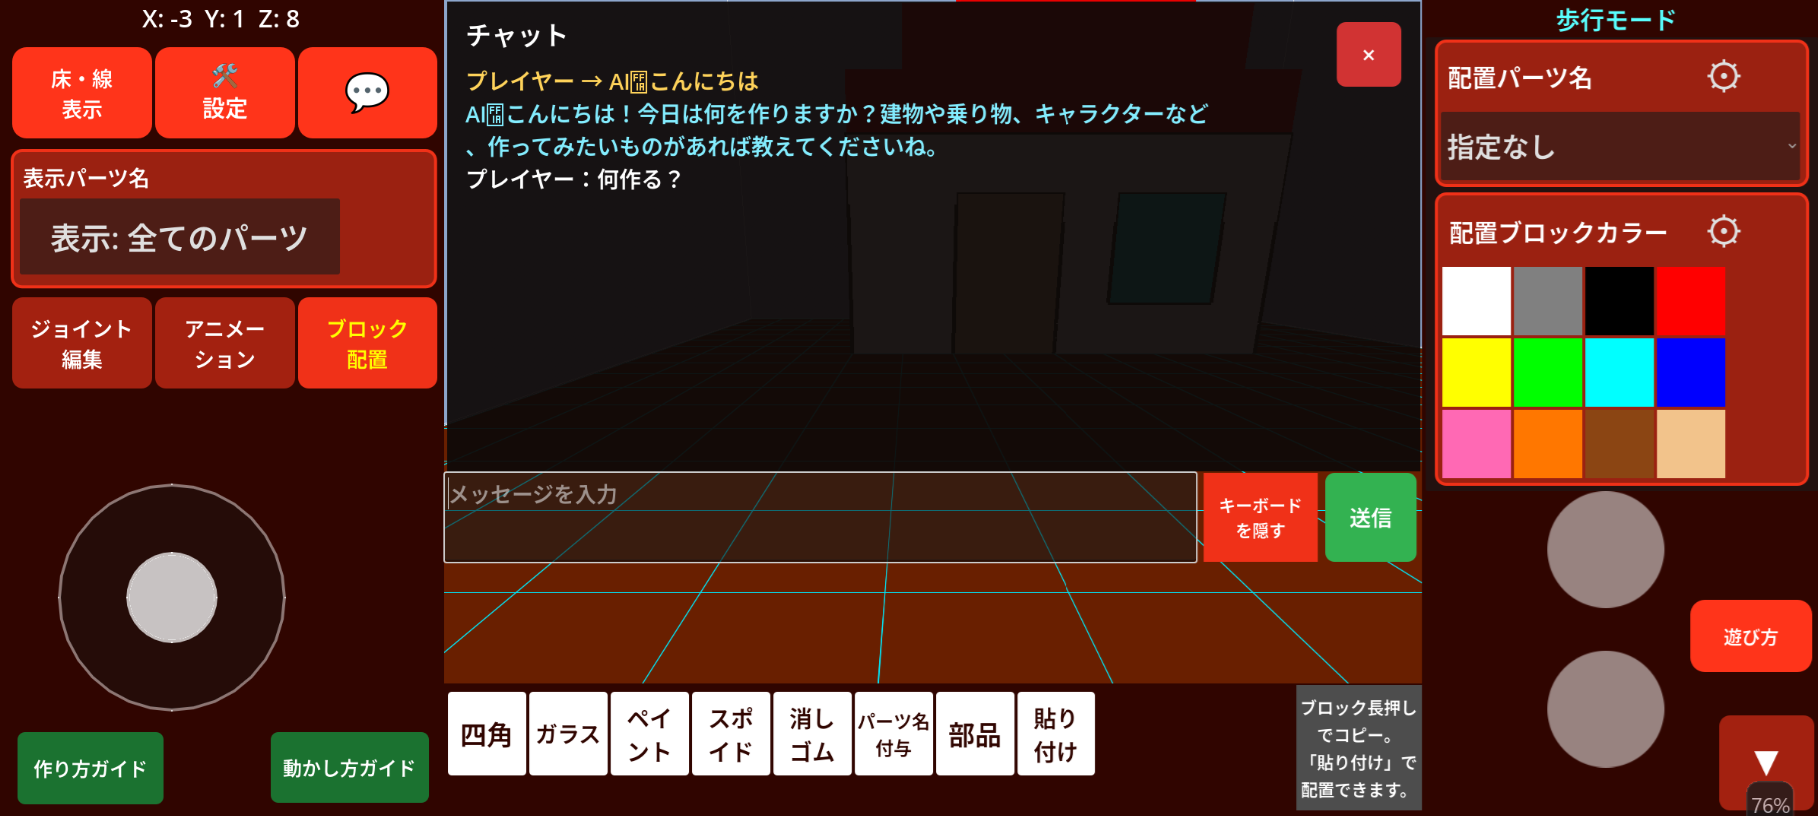
Ask AI in the in-app chat to add finishing touches to your parts, and bring your imagination to life.
Ask your chat AI to create with CocoScript, then paste the generated code into the app.
Configure Gemini API in AI settings to request creations and part edits in the app chat. Your own API key is required.
How to set up and use Gemini →
 In-game Chat AI · Click to enlarge
With COCO CHARA for Windows, you can use an MCP-compatible AI client such as Claude, Codex or LM Studio to ask AI to edit the open world and create parts and motion through an MCP connection.
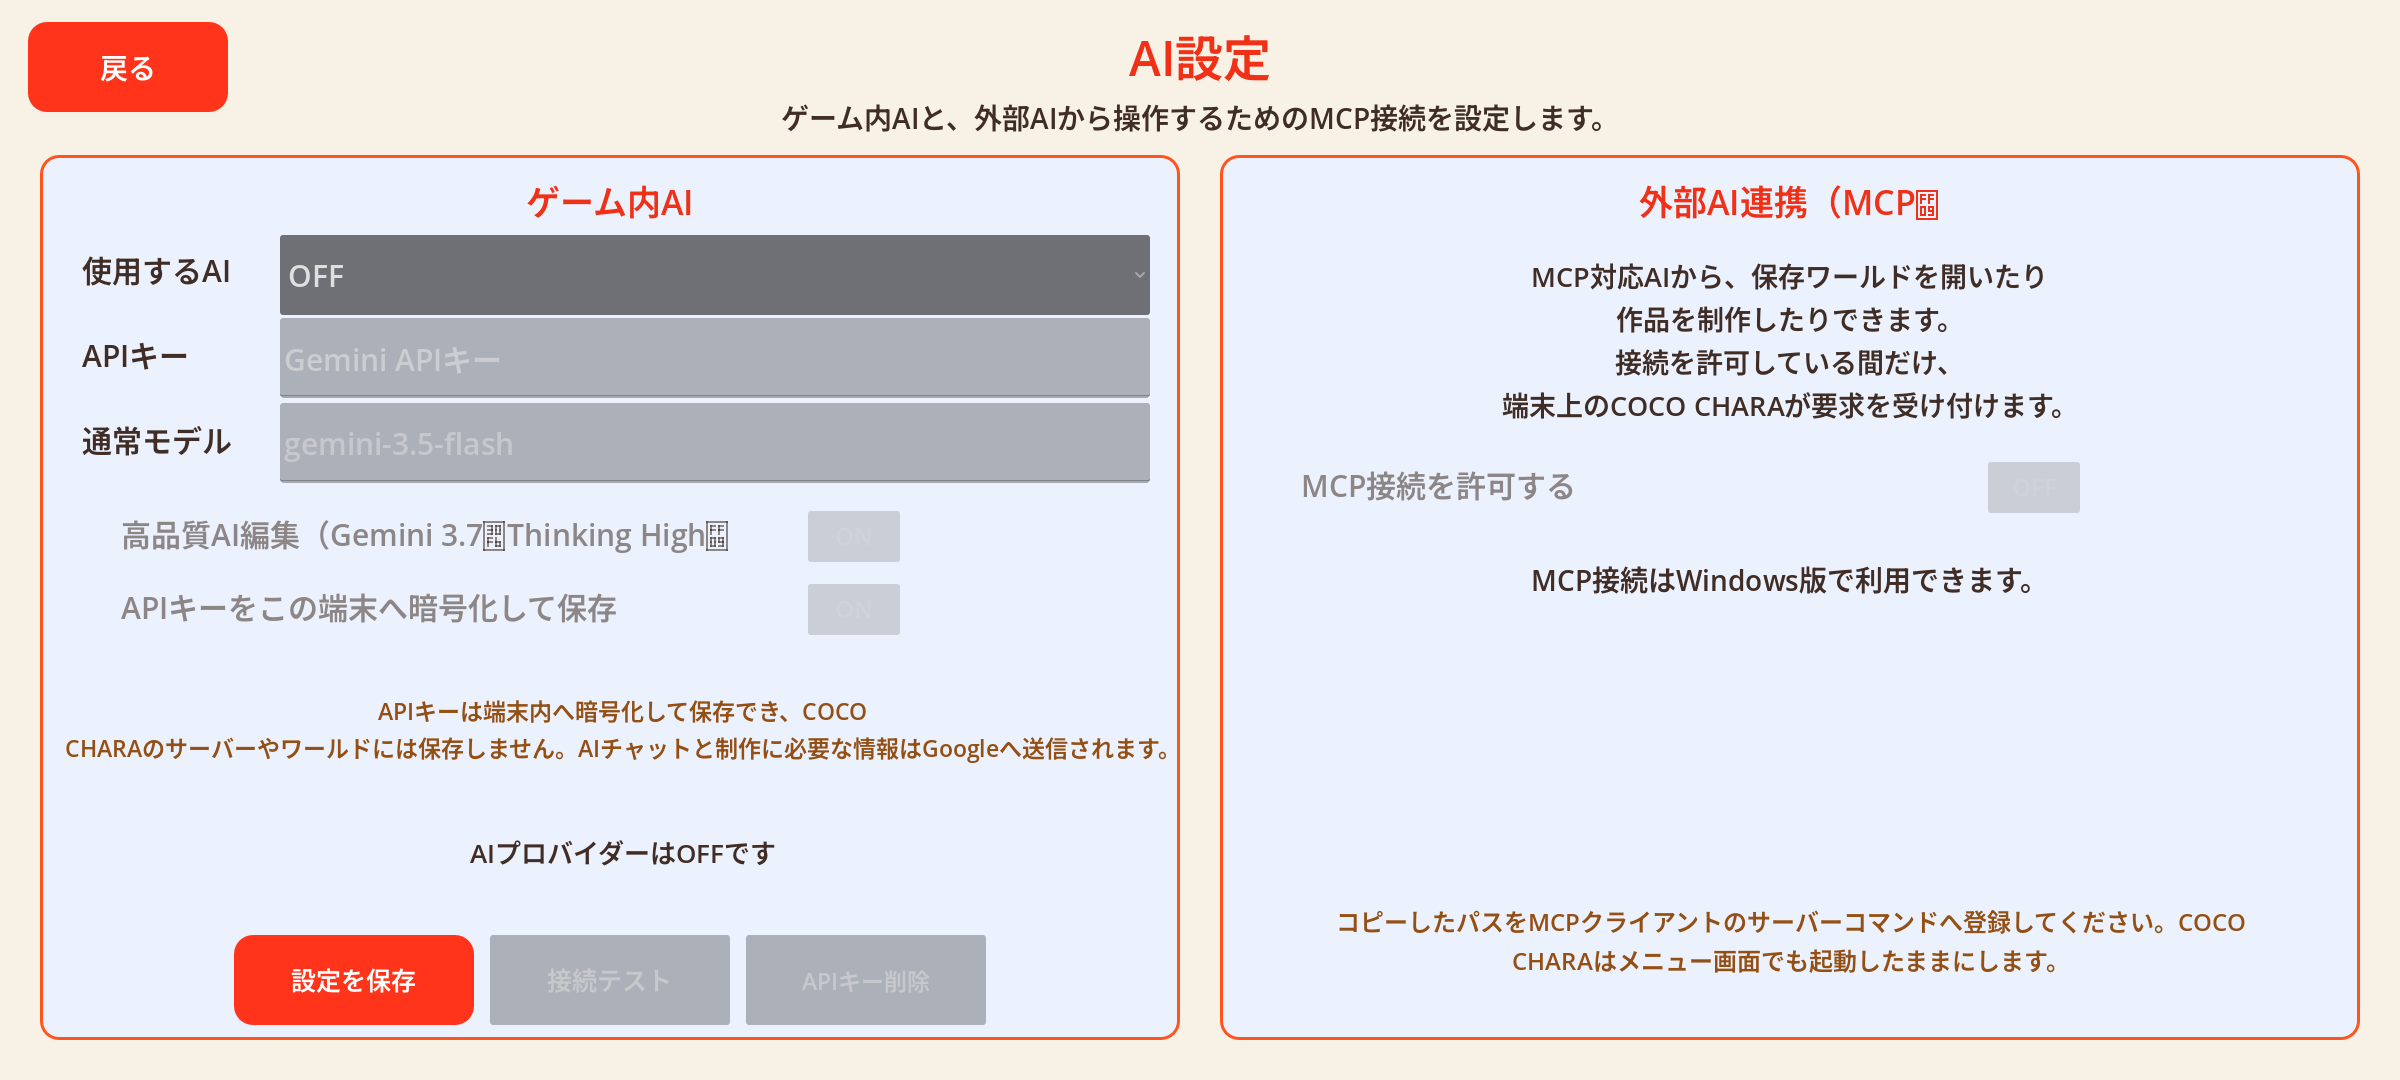 App screenshot · Click to enlarge
PUBLISH FROM THE APP
You can turn your creations into assets. Submit and publish them through the COCO CHARA store in the app, and they will appear in both the web creation store and the in-app store. You can also download assets shared by other creators from the in-app store and use them to play.
Google sign-in is required to publish your creations. Google sign-in uses your basic Google profile to identify your account, support publishing and reports, and show online worlds across devices using the same account. See our Privacy Policy (日本語) for details.